Pages

Showing posts with label dorm decorating. Show all posts

Tuesday, August 6, 2013

Something Cute I Made While Procrastinating


I need to be packing clothes. Or at least start sorting though them. I NEED TO.

But, of course I decided to take on another DIY project for my dorm instead. Just what I need. Another object to pack up and take with me. Ugh. My creative juices just need to take a break for awhile or I'm not gonna get anything done.

(I tried again this morning to be productive but I ended up taking my brothers to Butch's River Rock Cafe for breakfast instead)

LOOK AT THE GIANT PANCAKE

Back to the DIY..
I made a coin jar!

My family has had one forever and it has proven very effective in collecting extra cash along the way. We usually saved coins until the jar filled up. Then we cashed in the coins and did something fun with it! Our jar at home is a plain and clear crystal jar. I took it upon myself to re-purpose one of my mom's old mason jars. I took inspiration from Pinterest and combined it with some of my own creativity and this is the final result:


It was a pretty simple project. Ribbons, rhinestones, chipboard letters, and chalkboard spray paint for the blank rectangle. I thought I could write something special that I'm saving for in that spot.

Now that I've procrastinated some more by writing this post I better start to get ready for work!
Until next time!


Wednesday, July 31, 2013

Dorm Decorations?

PINTEREST SUCCESS

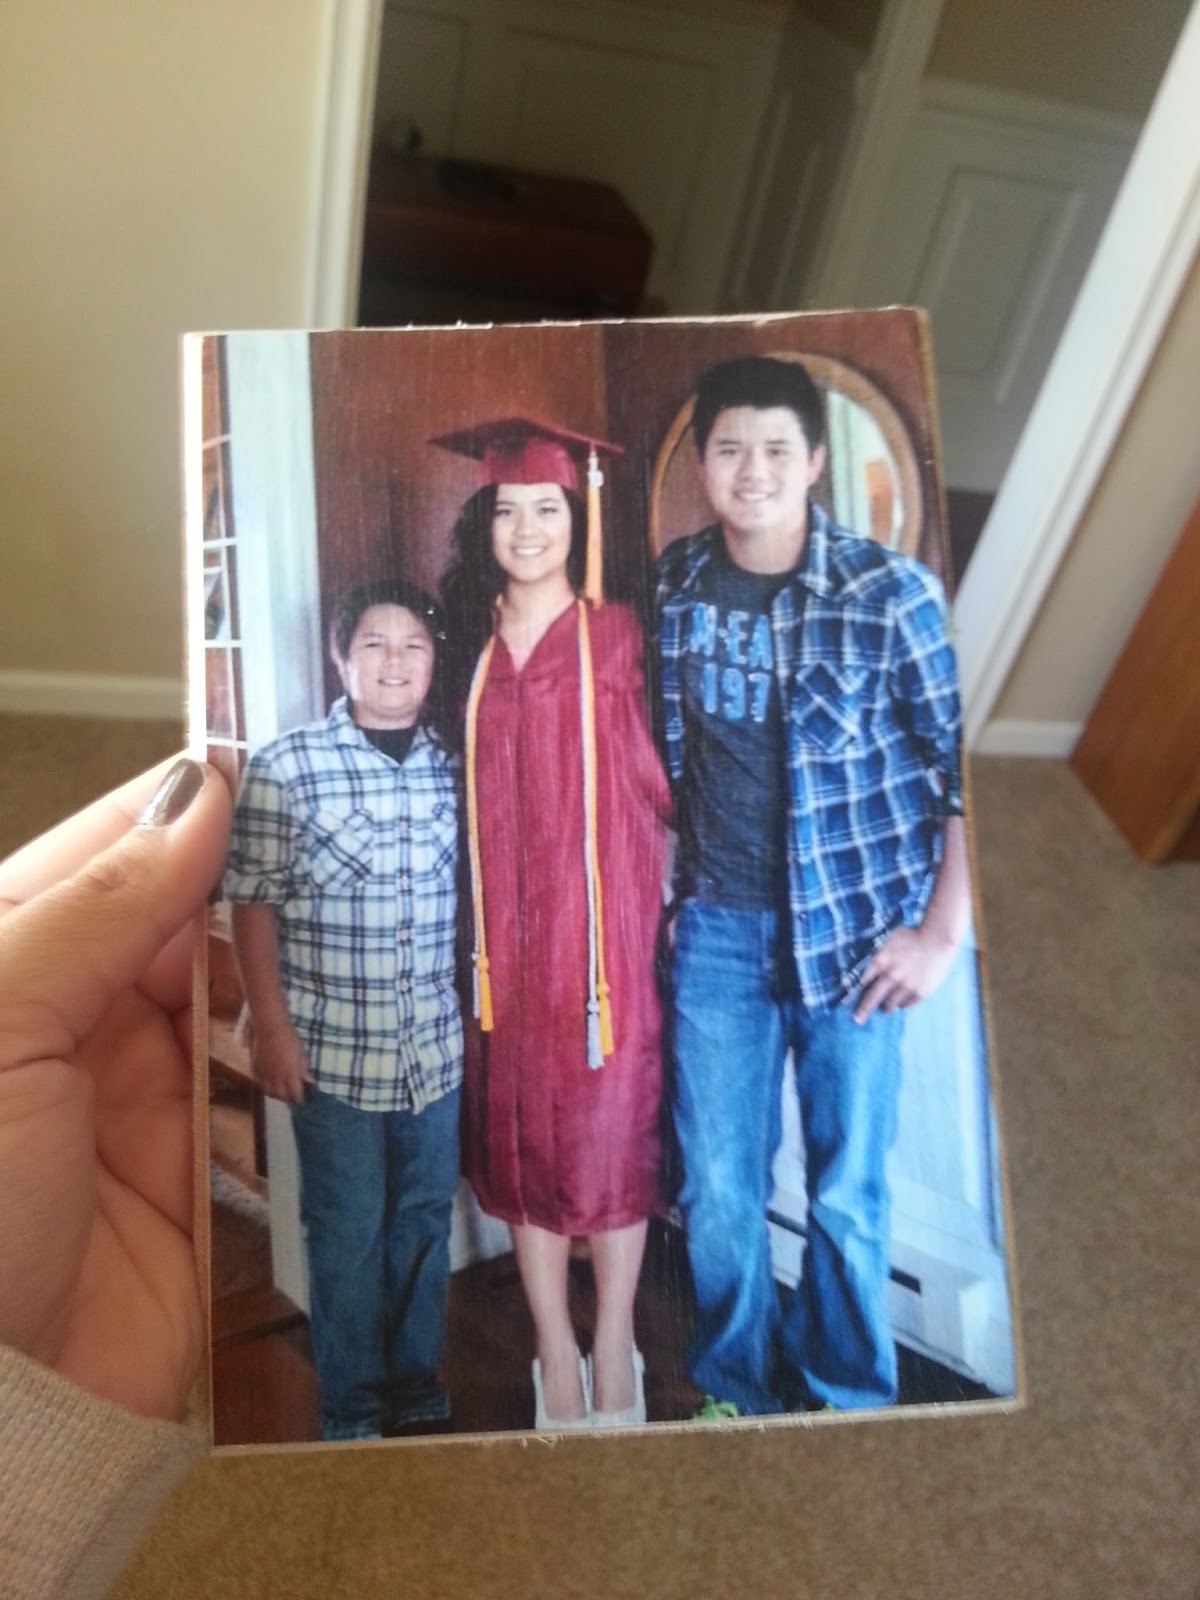
So, I had a day off work today. The next two weeks I'm going to be living at the Press Box. Pretty much until I have to go to school. So I took advantage of the time and started a Pinterest project:

WOOD PHOTO TRANSFERS.

I went scouring the internet for tutorials on how to make these little beauties..
... I didn't find anything.

So I took it upon myself to figure it out and this is what I came up with:


Materials:
Wood Panels
Mod Podge
Printer
Paint Brush
Sandpaper
Cute Pictures!

1) Print off any picture you want to transfer. Some tutorials said you need a laser printer but mine worked just fine! (Also don't forget to resize the photo to fit the wood panel! Mine were 5x7.) Trim off all the excess paper.


2) Take the sand paper and smooth out the flat surface for the picture.


3) Paint the Mod Podge in straight and smooth vertical strokes on the flat surface of the panel. Then gently lay the picture down on the wood. Try to get most of the bubbles out, but don't worry if some remain!


4) Paint more Mod Podge on top of the picture in straight vertical strokes. A little goes a long way :) Wait for it to dry.(Or in my case blast it with the "cool" setting on my hair dryer.) I don't have picture of this step because I was in super concentrated crafty mode :(

5) After it's dry pick up that sand paper again and distress the edges if you'd like. I think it gives them a cool vintage-y vibe.


ALL DONE! 

Here's my results :)